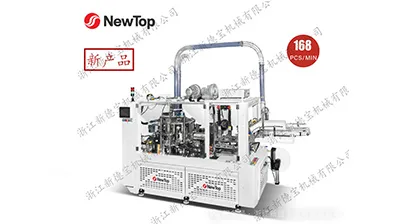

NewTop people pursue the concept of high quality and technology leading.
By changing the working mode with intelligent paper cup machine to make the operation more and more simple.

Have you ever watched a thermal paper cup sleeve take shape – perfectly creased, tightly wrapped, and ready to keep coffee warm? Behind that simple protective layer stands a surprisingly sophisticated piece of equipment: the double wall paper cup sleeve machine. For production managers and plant operators, getting this machine to run smoothly isn’t just about pushing buttons – it’s about understanding material behaviour, fine-tuning tension, and avoiding small errors that cause big waste.
In this guide, you’ll walk through the entire operation process – from pre-run preparation to troubleshooting – using real workshop experience. No fluff, just actionable steps.
(https://youtu.be/k6PMjUsiFfM?si=WDZ2SA7zkCcPY9xt)
Unlike single-layer cup wrappers, double wall sleeves consist of two paper layers bonded together. This means your machine must handle slightly thicker, more rigid material while maintaining precise glue application and scoring alignment. The good news? Once you dial in the settings, production becomes highly consistent.
Start by mounting the outer layer paper roll on the unwind stand, followed by the inner layer roll. Most modern machines have two independent unwind shafts. Critical check: The paper should feed straight into the tension control rollers without diagonal drift.
Set the tension for each web separately. A common mistake is using identical tension for both layers – but if one paper has different grammage, the lower weight layer will stretch more. Adjust until both webs move synchronously without wrinkles.
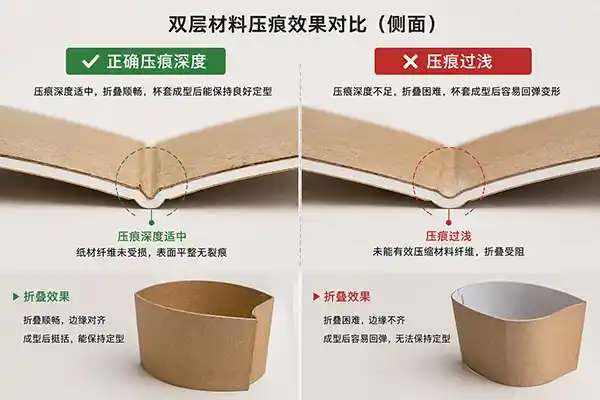
Double wall sleeves require deeper scoring than single-wall because the thicker material needs extra room to fold. Locate the scoring wheel assembly. Using a feeler gauge or a scrap sample, run a test piece through at low speed.
If the crease cracks the paper surface → reduce scoring depth.
If the sleeve doesn’t stay folded → increase depth slightly.
Run at least five test pieces before full production. Keep a log of your settings – this becomes your reference library.
The glue system on a double wall cup sleeve machine is often a wheel applicator or spray nozzle. For double wall, you need sufficient coverage but no bleed-through. Use a water-based adhesive with medium viscosity. Too thin and the layers delaminate; too thick and the glue line shows.
Run a short batch and peel open the bonded area after drying for 30 seconds. The paper fibres should tear on both sides – that’s a perfect bond. If the glue remains tacky, increase drying temperature or reduce line speed.
This is where the magic happens. The double-layered web passes through a forming station that wraps it into a tube shape, then a rotary cutter slices individual sleeves. The two critical adjustments are:
Overlap length – The glued seam area. For a double wall, aim for 12–15 mm overlap. Too short, and the sleeve pops open; too long, material waste.
Cut registration – The blade must cut exactly at the gap between sleeves. Use the registration mark sensor or manually align by rotating the cutter drum.
Common error: Forgetting to clean the cutting anvil. Built-up glue residue makes the blade bounce, producing jagged edges. Wipe the anvil every 2 hours of runtime.
Set up a simple three-point check every 15 minutes:
Diameter consistency – Use a go/no-go gauge sized to your sleeve’s target inner diameter (e.g., 70 mm for a medium cup). Pass five random sleeves.
Seam integrity – Attempt to manually peel the glue line; it should resist.
Flatness – Place the sleeve on a flat surface; it should not rock or show a hump.
Discard any sleeve that fails. Keep a rejection bin nearby – mixing bad sleeves with good ones wastes downstream packing time.
| Problem | Likely Cause | Quick Fix |
|---|---|---|
| Frequent jams at the infeed | Paper curls from high humidity | Install a dehumidifier near the unwind stand |
| Glue spots on the sleeve exterior | Excess adhesive splashing | Lower the applicator wheel speed, check the doctor blade |
| Sleeves spring open after forming | Insufficient scoring depth or wrong overlap | Increase depth by 0.2 mm, add 2 mm overlap |
| Uneven cut length | Slipping the drive belt on the cutter | Tighten the belt or replace it |
Once your basic operation is stable, consider these upgrades:
Pre-heat the paper – Passing both webs over a 40–50°C heated roller reduces curling and improves glue wetting. Many operators discover this trick after months of trial.
Use anti-static bars – Static charge makes sleeves stick together. A $50 anti-static tinsel bar mounted before the forming station eliminates this instantly.
Log every parameter change – Create a simple spreadsheet with columns: date, paper lot number, scoring depth, glue temp, line speed, and defect rate %. After 10 batches, you’ll see patterns.
If you find yourself constantly fighting material variations, spending hours on recalibration, or dealing with high rejection rates, your current machine might be reaching its limits. For consistent, high-volume production of double wall sleeves, a purpose-built system with automated tension control and servo-driven scoring can cut waste by half and boost output to 400+ sleeves per minute.
Newdebao offers a range of paper cup forming equipment designed for double wall applications, including inline lamination and precision scoring modules. You can explore their double wall sleeve solutions here to see specs and request a sample run.
Paper rolls mounted and aligned
Tension is set individually for each layer
Scoring depth tested on scrap
Glue applicator cleaned, viscosity checked
Overlap and cut registration verified
Go/no-go gauge within reach
Rejection bin empty
Log sheet filled for first 15-minute check
Running a double wall paper cup sleeve machine isn’t rocket science – but it rewards attention to detail. The steps above come from years of real production data, not just manuals. Follow them, and you’ll turn frustration into predictable, high-quality output.
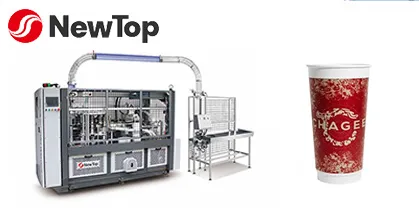
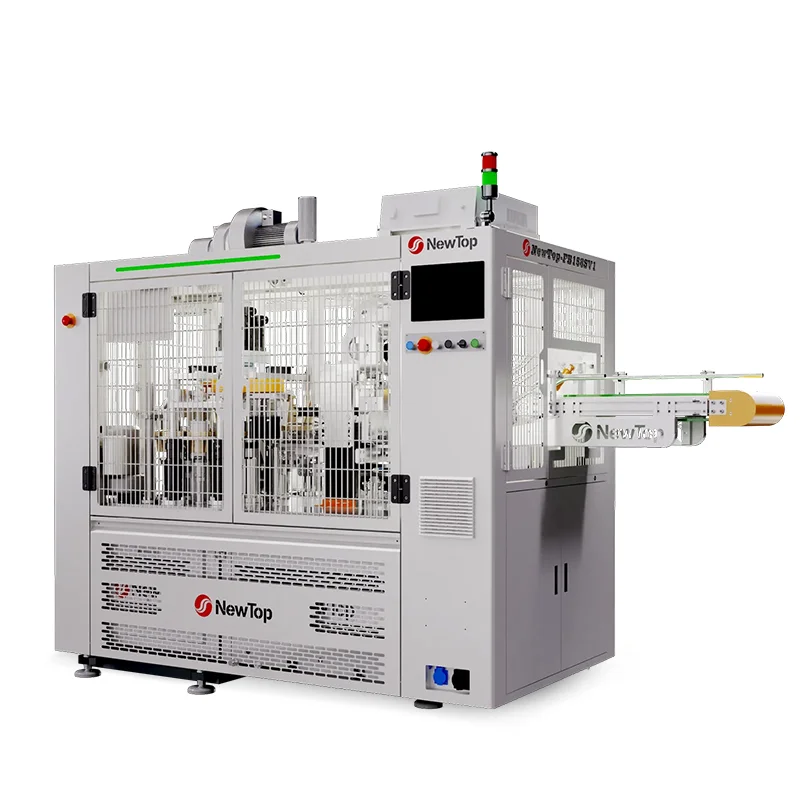
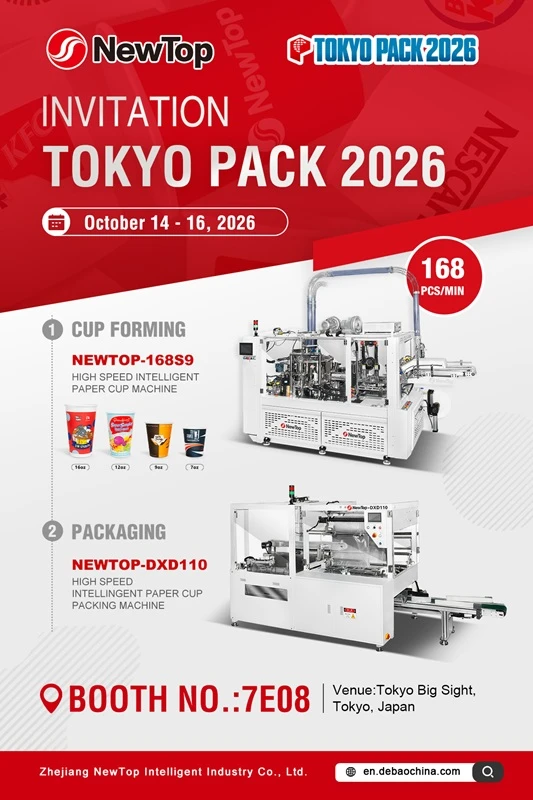
2.5oz-12oz Paper Cup Size
168-175 pcs/min Max Capacity
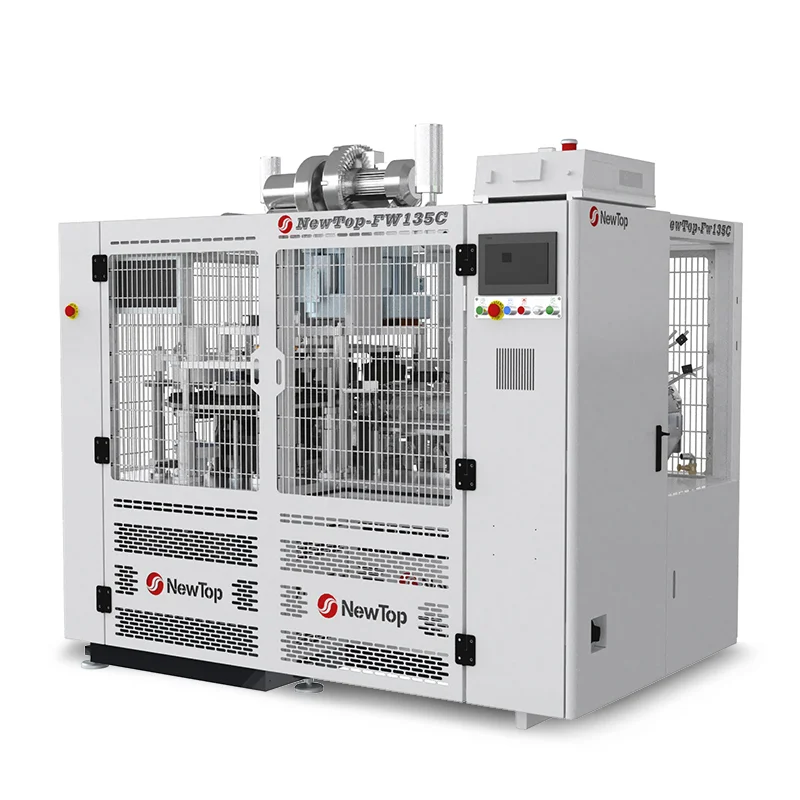
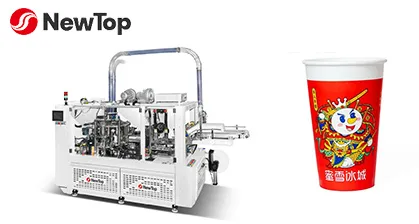
16-42oz Paper Cup Size
140 pcs/min Max Capacity
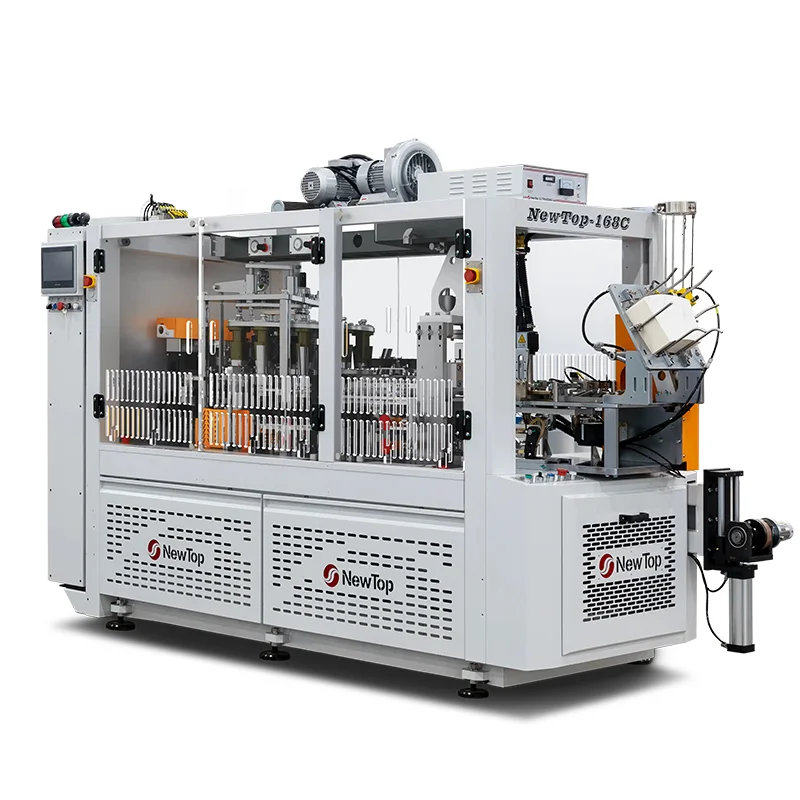
16-22oz Paper Cup Size
138 pcs/min Max Capacity


NewTop people pursue the concept of high quality and technology leading.
By changing the working mode with intelligent paper cup machine to make the operation more and more simple.
Fengzhai Natural Village,Wandu Village, Wanquan Town, Pingyang County, Zhejiang Province,China